
Back in February, I wrote about a project that I wanted to do over Spring Break. At that point, I didn't know what colors I was going to use, and frankly, I wondered if I would even finish the project. I've been trying to do this for so long, and have just never gotten around to it.
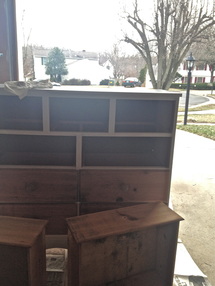
Thankfully, I finally did it, and I now have a nice set of ombre'd drawers in my room at home!
Oh, you'd like to see the process? I suppose I can share that.
Thankfully, I finally did it, and I now have a nice set of ombre'd drawers in my room at home!
Oh, you'd like to see the process? I suppose I can share that.
| the inspiration: I found this on Pinterest over a year ago! | 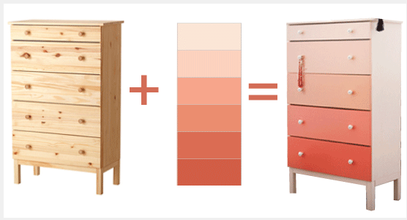
|
| step 1: pick a palate I had no idea what direction I wanted to go... my room colors are pale yellow, bright white, and a blue (almost cobalt), but I kind of wanted to branch out. So I got a bunch of color chips from Home Depot and Mom and I played around with different combinations, holding them up against my wall. We narrowed it down, and I headed to pick up paint. 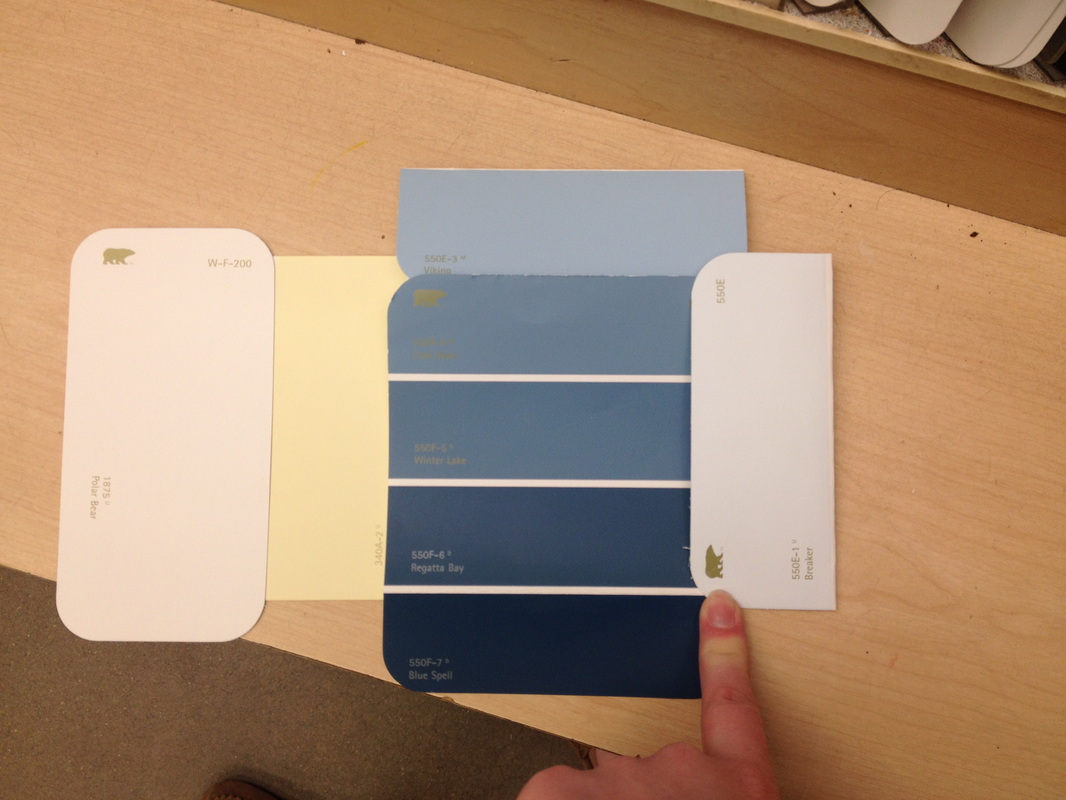
the drawers: I used a set of drawers that used to be my grandfather's tool spot. It sat in his basement for 20+years, and then it sat in our basement for 10+ years. The top was oil-stained and scratched, so it needed a lot of help. 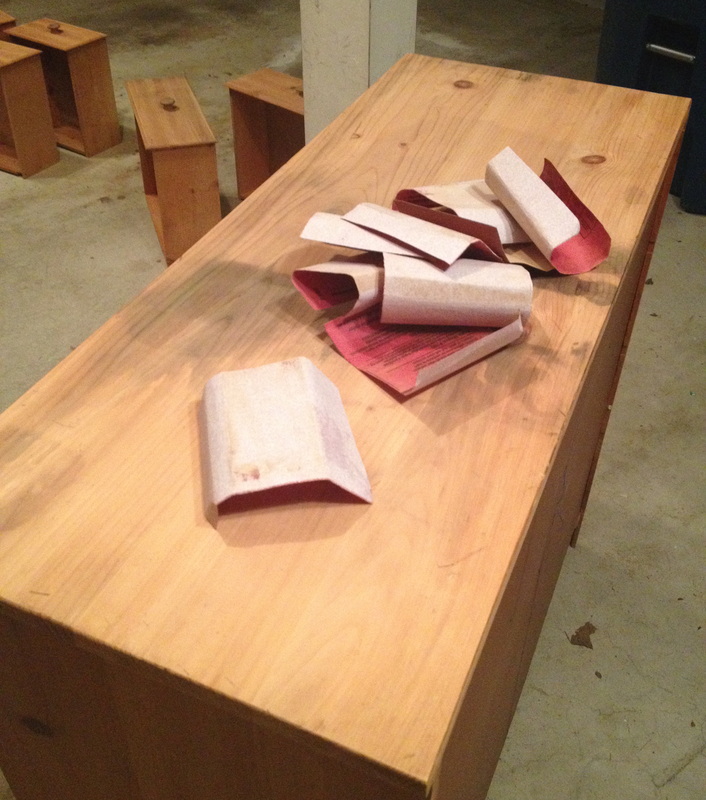
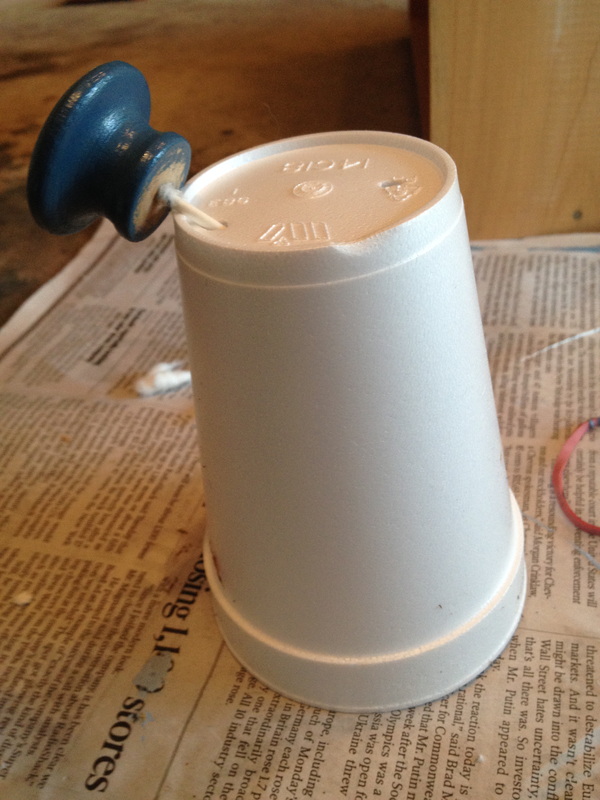
step 4: painting! As I said earlier, I painted the base a really, really pale blue that looked basically white. The reason I didn't use white was because my walls are partially white, and I wanted the drawers to stand out a little bit. This is an awesome trick I read - where else? - on Pinterest! I put a rubber band around the can of paint and wiped my brush on it, which kept the rim of the can pretty clean. When I put the lid back on, paint didn't go everywhere! Genius! I did this project in our garage, and it was an absolutely beautiful day! I ended up putting 3 coats of paint on the base (it was hard to cover those oil stains!) and 2 coats on the drawers and the knobs. The wood was so dry that it was soaking up all the paint, and I probably could've used another coat on everything, but I don't think you can tell the difference. This is a trick my mom came up with to help me paint the drawer knobs. There was no way for me to hold them and paint at the same time, so we tore most of the cotton off the top of a Q-Tip. I held the Q-Tip as I painted, which allowed me to spin the knob around and get the paint even, then I stuck the Q-Tip in a styrofoam cup so it could dry. When everything was dry, we lined the drawers with contact paper to keep everything nice and clean and splinter-free! | 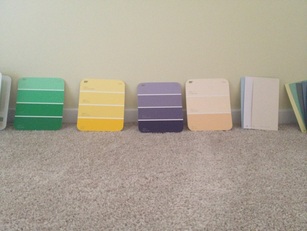
step 2: buy paint Once at Home Depot, I changed my mind and decided not to go as dark as originally planned. The lighting in the picture to the left isn't fantastic (yay florescent store lights), but the white on the far left is my wall color above the chair rail, the yellow right next to it is below the chair rail, and the pale blue on the far right was going to be the base color of the drawers. I was going to use the bottom 4 blues for the drawers, but then decided to use the top 4. I'm ultimately glad I made that decision. 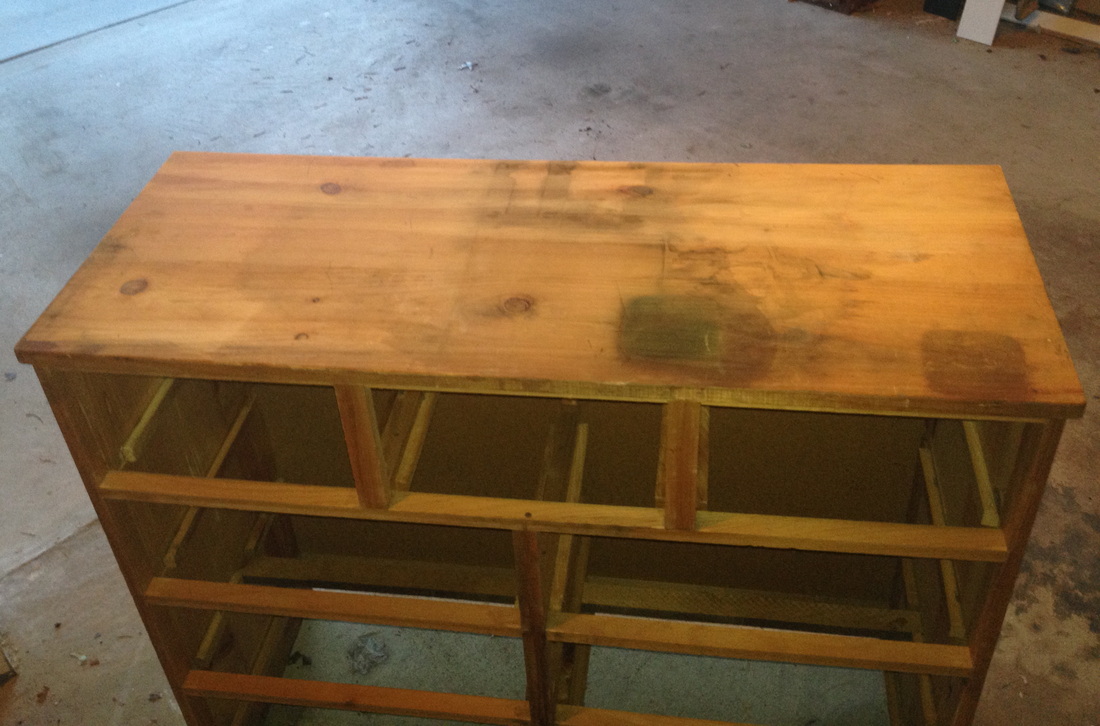
step 3: sanding Ideally, one would use a sanding machine to sand something like this. But the clips that hold the sandpaper in place on our sander weren't springy enough, so I ended up sanding the whole thing by hand. Note: remove nice gold rings before sanding by hand. The sandpaper kills the ring band. (I should've read my own advice beforehand... whoops.) I used a ton of sandpaper and a sanding block -I think that's what it's called?- to get the top really even. I also sanded the drawers (in the background) and removed the knobs so that I could get the oils from people's hands off the drawers. 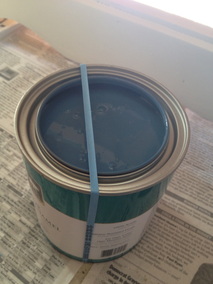
|
the finished project
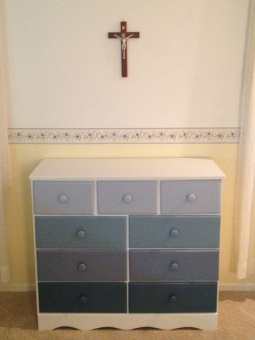
| I'm really happy with the way my project turned out! I think the drawers tie in nicely with the flowers in the border. This summer, I'll be filling this up with all sorts of things, and I'm also planning on hanging my cross and crucifix collection on this wall. My nice crucifix in the picture (that I got in Rome!) will go above my bed. |
And there you have it! A little spring break furniture update. I'm hoping to do a couple more DIY projects from my Pinterest boards over the summer.... any suggestions?
 RSS Feed
